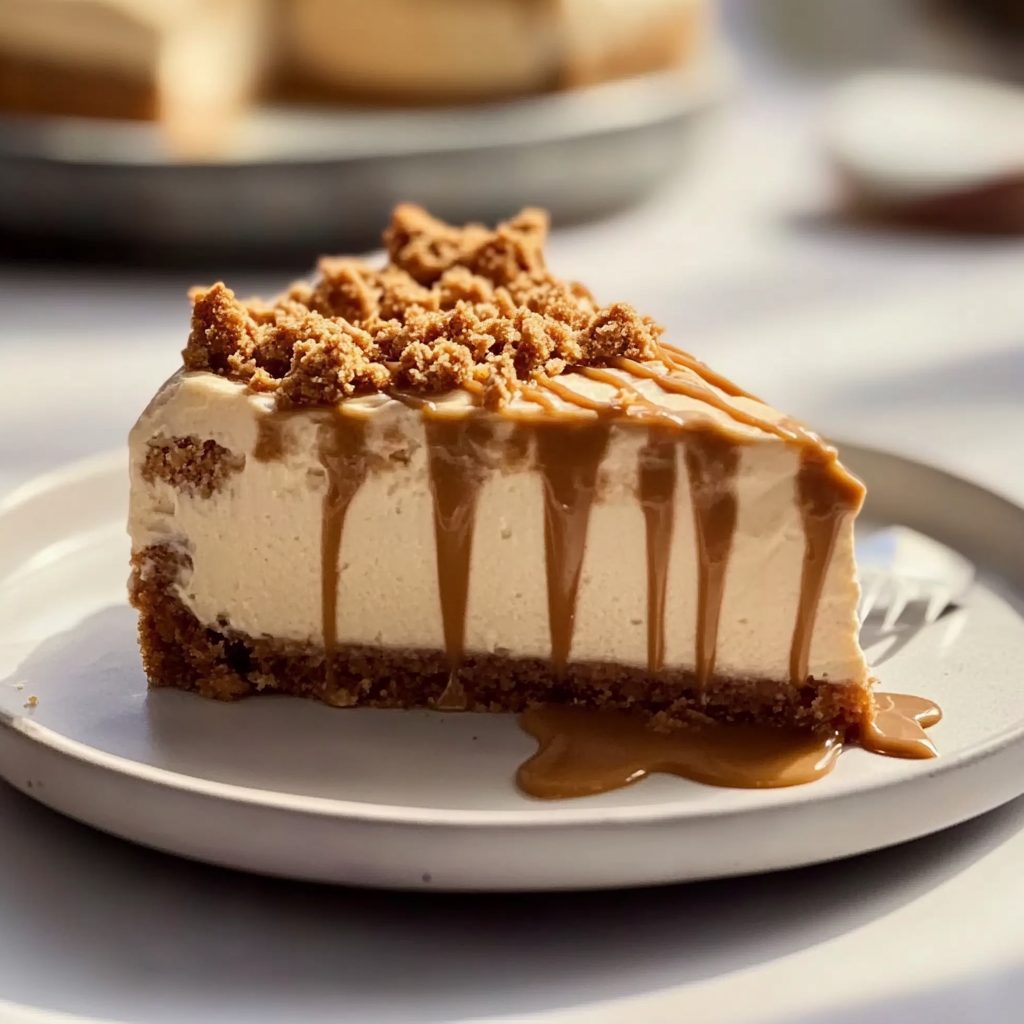
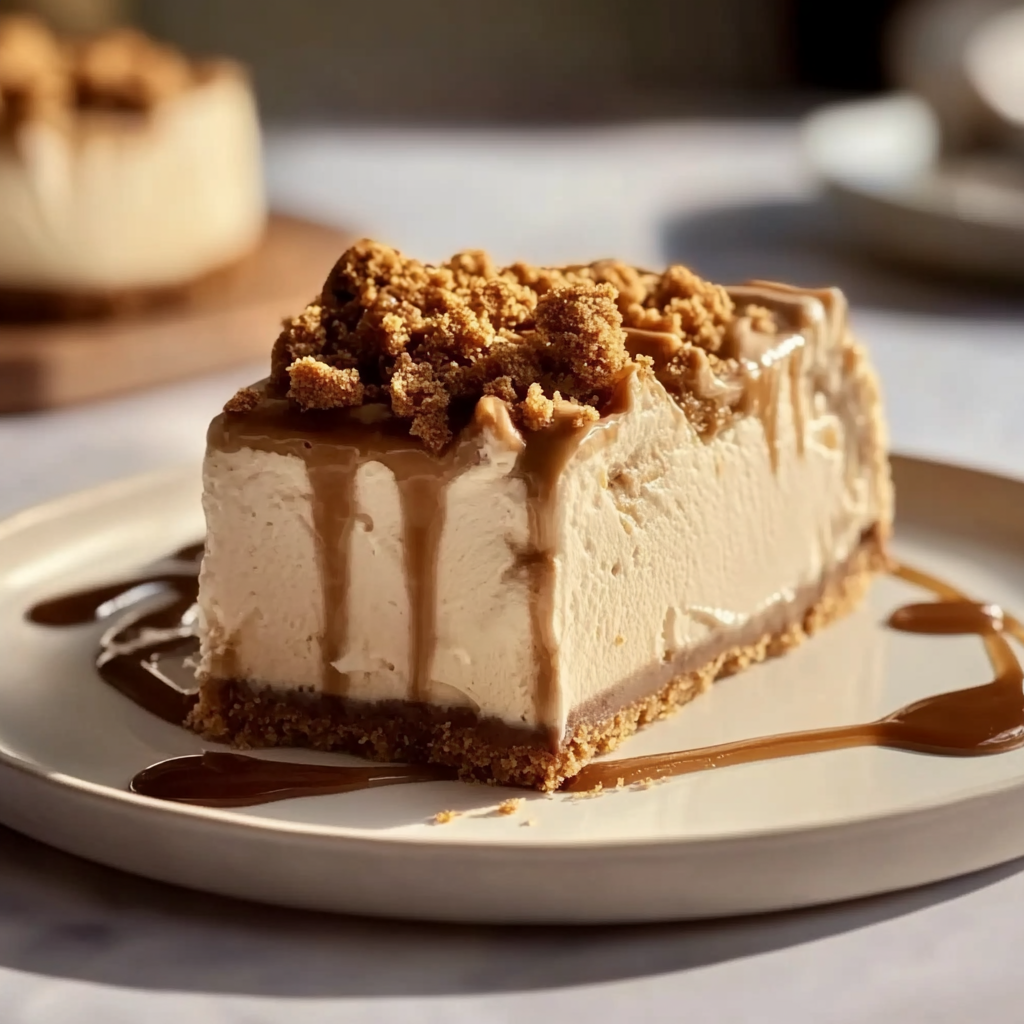
Indulging in a slice of No Bake Biscoff Cheesecake is like taking a delightful journey through dessert heaven. Imagine the creamy, velvety texture melting in your mouth while hints of caramel and spice dance on your palate, leaving you craving just one more bite. With its crunchy Biscoff cookie crust, this cheesecake is not just a treat; it’s an experience that elevates any occasion, be it a family gathering or a cozy night in.

I still remember the first time I made this No Bake Biscoff Cheesecake for my friends. The moment I pulled it from the fridge, the aroma wafted through the house, and their eyes lit up with anticipation. We gathered around the table, forks in hand, ready to devour what I previously dubbed “the best dessert ever.” Trust me; this delectable cheesecake will have everyone begging for seconds and maybe even thirds.
Why You'll Love This Recipe
- This No Bake Biscoff Cheesecake is incredibly simple to prepare, making it a stress-free dessert option.
- The rich flavors of caramelized cookies and cream create an unforgettable taste sensation.
- Its inviting appearance will impress guests at any event or dinner party.
- Perfect for birthdays or lazy Sunday afternoons when you crave something sweet without much effort.
My friends couldn’t stop talking about how creamy and dreamy this cheesecake was, and I might have received a few marriage proposals for it too.
Essential Ingredients
Here’s what you’ll need to make this delicious dish:
Biscoff Cookies: These delightful cookies provide the perfect crunch and unique flavor that forms the base of our cheesecake.
Unsalted Butter: Melted butter adds richness to the crust; make sure it’s unsalted to control overall saltiness.
Cream Cheese: Use full-fat cream cheese for an ultra-creamy texture that holds everything together beautifully.
Powdered Sugar: This sweetener ensures a smooth filling without any gritty texture; sift if necessary for best results.
Heavy Whipping Cream: Whipping cream creates fluffy peaks in your filling, adding lightness that balances out the richness.
Biscoff Spread: This magical spread will elevate your cheesecake with its luscious caramel flavor; feel free to lick the spoon!
For the Topping:
Biscoff Crumbs: Crush some extra cookies for garnishing; they add both texture and visual appeal to your cheesecake.
Whipped Cream: A dollop of homemade whipped cream on top takes this dessert over-the-top indulgent.
The full ingredients list, including measurements, is provided in the recipe card directly below.

How to Make No Bake Biscoff Cheesecake
Prepare your workspace by gathering all ingredients and tools needed for easy access throughout the process.
Create the Cookie Crust: Start by crushing your Biscoff cookies into fine crumbs using a food processor or by placing them in a sealed bag and smashing them with a rolling pin until they resemble sand. Mix these crumbs with melted butter until well combined.
Press the Crust into Your Pan: Transfer your buttery cookie mixture into a 9-inch springform pan. Use your fingers or the bottom of a glass to firmly press down on the crust so it holds together once set. Chill in the fridge while preparing the filling.
Make the Cheesecake Filling: In a large mixing bowl, beat room temperature cream cheese until smooth and creamy using an electric mixer. Gradually add powdered sugar and continue beating until fluffy—around 3 minutes should do.
Add Flavor with Biscoff Spread and Whipped Cream: Gently fold in Biscoff spread into your cream cheese mixture until well incorporated. In another bowl, whip heavy cream until soft peaks form; carefully fold this whipped cream into your cheesecake mixture for added lightness.
Fill Your Crust with Cheesecake Mixture: Pour your luscious cheesecake mixture over the prepared crust, smoothing out the top with a spatula. Cover tightly with plastic wrap and refrigerate for at least four hours (or overnight if you’re feeling patient).
Add Toppings Before Serving : Once set, remove from fridge and carefully undo springform pan sides. Top with whipped cream and sprinkle crushed Biscoff cookies over before slicing into glorious pieces of heaven!
Now sit back as you watch friends dive in and enjoy every single bite of your No Bake Biscoff Cheesecake masterpiece!
Content
Tip 1: Use room temperature cream cheese for a smoother texture in your cheesecake. I learned this the hard way when my cheesecake had lumps, and everyone made “lumpy cheesecake” jokes at dinner.
Tip 2: Chill the cheesecake overnight for the best flavor and texture. Trust me; patience pays off when you take that first bite!
Tip 3: Top with extra Biscoff crumbles for added crunch and sweetness. It’s a simple trick that leaves guests begging for seconds!
Perfecting the Cooking Process
Start by preparing the crust first to let it set while you mix the filling. This ensures a delightful crunch with every slice.
Add Your Touch
Feel free to customize with additional toppings like whipped cream or chocolate drizzle. These add-ons elevate your No Bake Biscoff Cheesecake to new heights of deliciousness.
Storing & Reheating
Store leftovers in an airtight container in the fridge for up to five days. The cheesecake tastes even better after a day or two, so no need to reheat!
Chef's Helpful Tips
- Ensure your pan is lined properly to avoid sticky situations during removal.
- Don’t skip chilling time; it’s vital for setting.
- Always taste as you go to balance flavors perfectly!
I once made this No Bake Biscoff Cheesecake for a family gathering, and it vanished faster than I could grab a slice!
FAQ
Can I use other cookies instead of Biscoff?
Yes, similar cookies like speculoos or graham crackers work perfectly as substitutes.
How long does it take to set?
Allow the cheesecake to chill for at least four hours, but overnight is best.
Can I freeze the No Bake Biscoff Cheesecake?
Yes, it freezes well; just wrap tightly in plastic wrap!
No Bake Biscoff Cheesecake
Indulge in a slice of No Bake Biscoff Cheesecake, where creamy layers of luscious cheesecake meet the delightful crunch of Biscoff cookie crust. This no-bake dessert is an effortless crowd-pleaser that brings a taste of decadence to any gathering. With rich caramel and spice notes, every bite is pure bliss, making it the perfect option for birthdays or cozy evenings at home.
- Prep Time: 20 minutes
- Cook Time: N/A
- Total Time: 59 minute
- Yield: Serves approximately 12 slices 1x
- Category: Dessert
- Method: No Bake
- Cuisine: International
Ingredients
- 250g Biscoff cookies (for crust)
- 100g unsalted butter, melted
- 500g full-fat cream cheese
- 100g powdered sugar
- 250ml heavy whipping cream
- 200g Biscoff spread
- Extra crushed Biscoff cookies (for garnish)
- Whipped cream (to taste)
Instructions
- Prepare the crust by crushing Biscoff cookies into fine crumbs and mixing with melted butter. Press firmly into a 9-inch springform pan and chill.
- In a mixing bowl, beat cream cheese until smooth. Gradually add powdered sugar, mixing until fluffy.
- Fold in Biscoff spread, then whip heavy cream until soft peaks form and gently fold it into the cheesecake mixture.
- Pour the filling over the chilled crust, smoothing the top. Cover and refrigerate for at least 4 hours or overnight.
- Before serving, add whipped cream and sprinkle with crushed Biscoff cookies.
Nutrition
- Serving Size: 1 slice (approximately 125g)
- Calories: 350
- Sugar: 25g
- Sodium: 150mg
- Fat: 26g
- Saturated Fat: 15g
- Unsaturated Fat: 8g
- Trans Fat: 0g
- Carbohydrates: 30g
- Fiber: 1g
- Protein: 4g
- Cholesterol: 70mg
Keywords: Use room temperature cream cheese for a smoother texture. Chill overnight for optimal flavor development. Customize with additional toppings like chocolate drizzle or fresh fruit.


